
A few years ago I created an eBook titled “Focused Social Selling – less really is more” ![]()
![]() To be more specific, I wrote the content and then I did it with the help of my friend and mentor, Neal Schaffer, who was kind enough to write the forward and have his folks do the layout work. We then promoted it jointly.
To be more specific, I wrote the content and then I did it with the help of my friend and mentor, Neal Schaffer, who was kind enough to write the forward and have his folks do the layout work. We then promoted it jointly.
At that same time, I was approached by a company called Visme which, at the time, I believe was relatively new. Visme is an application to create your own infographics and these folks were nice enough to offer to create one for me, free of charge, and it was awesome!
For a few months now I have been thinking about doing another eBook. I have already written the content for “The 12 Steps to Becoming a Master Networker”. This time I wanted to do the layout and, if possible, an accompanying infographic by myself. The question was … how?
Honestly, the infographic was more of a dream given my lack of skills in that area. I was getting ready to get started and who pops up again on my radar but Visme. They are about to release a new product called Visme Unleashed and they asked me if I might like to try it out and then give them my impressions.
I was caught off guard by this suggestion, but it got me to thinkin’. I then told them about my project and about how I can’t even draw stick people. It turns out that they were anxious to give me a hand. I took them up on their offers and I was given pre-release access to the new program.
I thought about using Visme for an infographic only, but they also have templates and creation routines for … eBooks and slides. Nice! This would also solve one of my main concerns in terms of having all three elements look like they belong together. Branding. This article documents my project. Away we go ….
I tend to be OCD about certain things (o.k., a lot of things including planning), and being a man … I don’t read directions, so I started to poke around Visme and run some tests just to get a feel for how it operates. For the record, the Visme site has a comprehensive support area and it is loaded with how-to videos. Here’s one …
I went back and forth a number of times, trying a variety of different methods, before finally determining that my project would be completed in 9 steps …
- Merge articles into one Word document.
- Edit this document for content and add new content where needed.
- Add links where appropriate.
- Research Visme for a common theme for the infographic, slides, and cover.
- Create the infographic and save individual elements (blocks or steps) as png files for use later in the eBook and slides.
- Create a cover sheet in Visme and save it as a png file for use later.
- Insert the cover into my Word document and then insert the separate blocks into my Word document as chapter headers.
- Use the infographic “blocks” as a basis to create the slides. Upload the completed PowerPoint presentation to Visme for publication to the web.
- Publish the infographic and the slides to the web and also create the eBook as a PDF and the infographic as one png. Publish all to my websites.
Visme is very sophisticated and, if you are more graphically inclined, It has a ton of beautiful templates for just about anything … including eBooks, slides, web graphics, social graphics, posters, documents, and more. Or … start with a blank canvas and create whatever it is that you like!
Note that I decided against creating the eBook and the slides in Visme itself. Copying and pasting 50 plus pages would be tedious and what I ultimately wanted would be fairly simple. I’m more comfortable in PowerPoint, but I can upload that to Visme for web publishing and still have an off-line copy.
However, Visme would play an integral part in the final creation of the eBook. See steps 5 through 7 above. While my existing document was already in Word, sprucing it up with integrated graphics, from the complete infographic, was just what I was looking for. The chapter headers list bullets for the chapter itself. Sweet!
The first 3 steps would be easy. No new fields to plow. I had asked the folks at Visme a ton of questions and, as a result, I could now review their very detailed answers. It turned out that there are many ways to skin a cat and I just needed to figure out which pelt(s) would work best for me.
I started with building my brand which is pretty straight forward: my colors, choose a font, establish my commonly used links (website, social, email), and build a template of what colors would appear where in my projects. My brand will carry over to all elements (eBook, infographic, and slides).
I did encounter a few program bugs along the way. Most were squashed during my test. In some cases, I did create workarounds (see “cats”). Grid lines were replaced by using the x/y axis and specific point sizing features while issues with linking were solved by separating icons and some copy into individual text boxes.
Note that I was operating with a beta copy of a new release. I bring the glitches up because … s__t happens, but Visme’s support people were all outstanding (even on nights and weekends)! They must have had me confused with someone who was deemed to be important 🙂
There’s a lesson. I assume that everything will break at some point. What happens when it does will determine my overall impression of that company. In fact, if their service exceeds my expectations (Visme did), I will think more favorably about that company than I would have had If everything was perfect. Removes the guesswork.
Following my steps, once I had those figured out, the rest was pretty easy. I did need to first choose the appropriate infographic template and then determine what bullet points I would use on each step. I chose something very clean and simple befitting my preferences and my level of talent. Or lack thereof as the case may be.
Editing the template was surprisingly easy and this included changing colors, images, and moving elements around. If you are already familiar with using Word and PowerPoint (I am, at best, adequate in both), mastering Visme should be a snap. It’s UI and functionalities mimic both of these applications.
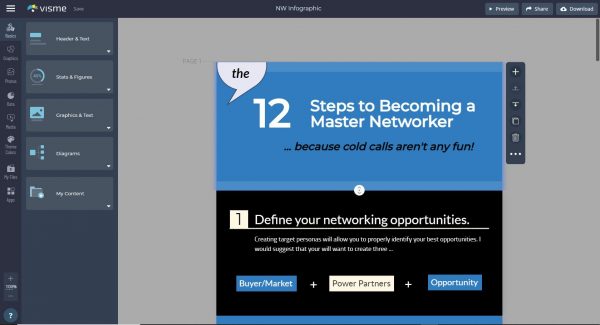
One truly awesome feature of Visme is that you can take a complete infographic and then download the entire thing but as separate “blocks” of information, I.e. … my individual 12 steps. These can be jpgs or pngs and they can then be inserted on any application. In my case … Word and PowerPoint. What a time saver!
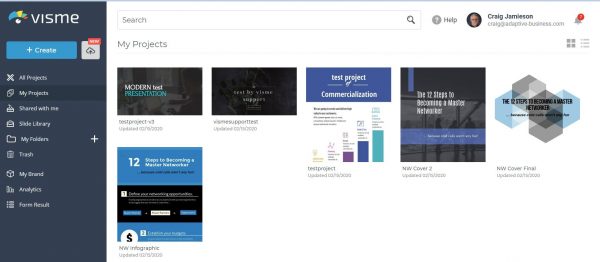
You can also add your own images, link to video or a variety of other media sources, and then publish your work to the web in addition to creating hard PDFs. I chose to publish the infographic here on the web, the PowerPoint here, and you can also access a free direct PDF download of the eBook ![]()
![]() itself (published to my website).
itself (published to my website).
Visme is an extremely powerful application. I don’t pretend to understand all of the nomenclature, but I was able to grasp the fundamentals in less than a day. Considering my limited background in this area … not … too … bad. Best of all … I actually had fun doing it and I learned a ton! Visme … get you some!